Your first slides
A talk of four slides in your browser, then a fifth one written by you.
1. Create the talk
lhtml-site init my-talk --theme slides
cd my-talk
init creates a folder with a configuration and four slides to start from:
my-talk/
  configure.yaml                     the configuration
  src/
    01_title/index.html.j2           a title slide
    02_text/index.html.j2            a slide of text: lists, math, a link
    03_two_columns/index.html.j2     two columns
    04_image/index.html.j2           text, and an image on the right
    04_image/assets/diagram.svg      the image of that slide
Each slide is one file index.html.j2 in its own folder of src/. That is what this site calls a
page: a slide of a talk, or a page of a website, is one such file in its own folder.
2. Show it, and rebuild as you write
lhtml-site --serve --watch
builds the slides and prints the address where it shows them: open http://127.0.0.1:8000/ in your browser. The arrow keys go from slide to slide. Keep that terminal open: each time you save a file, the slides are rebuilt; refresh the browser to see the change. Press Ctrl+C to stop.
No server needed for a quick look: lhtml-site alone builds the slides into .site/, and you can
open .site/index.html directly.
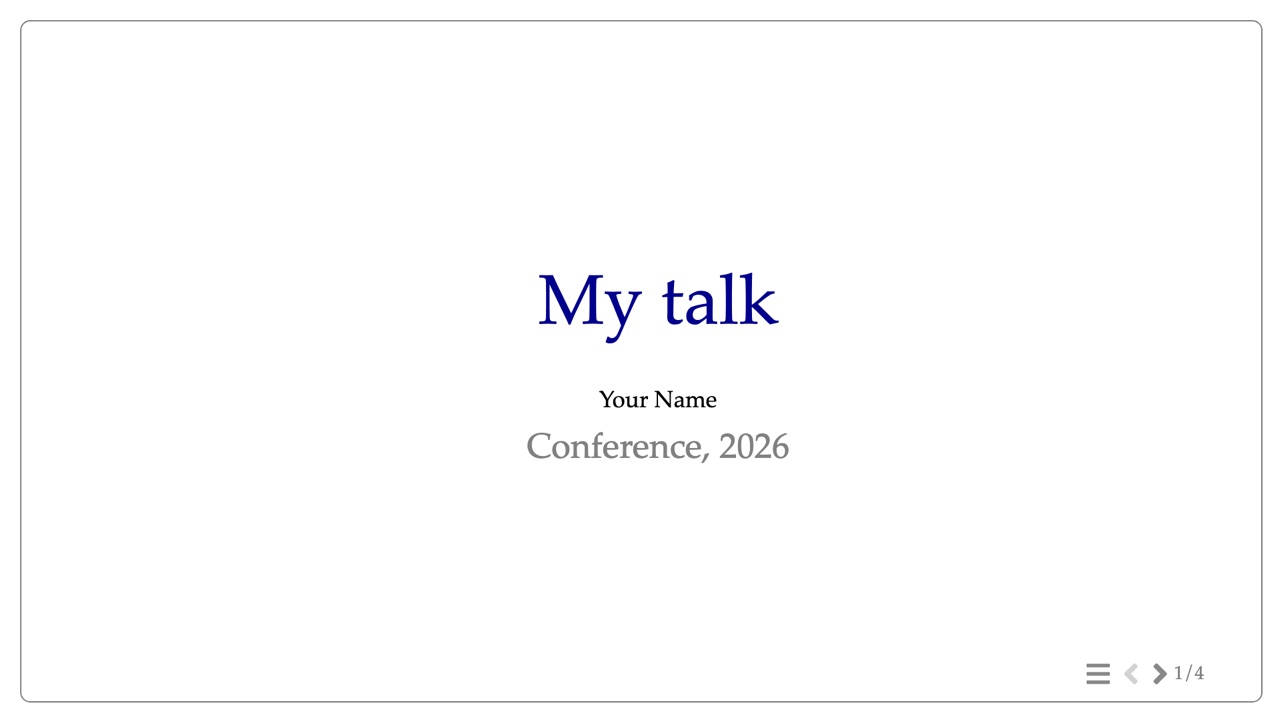
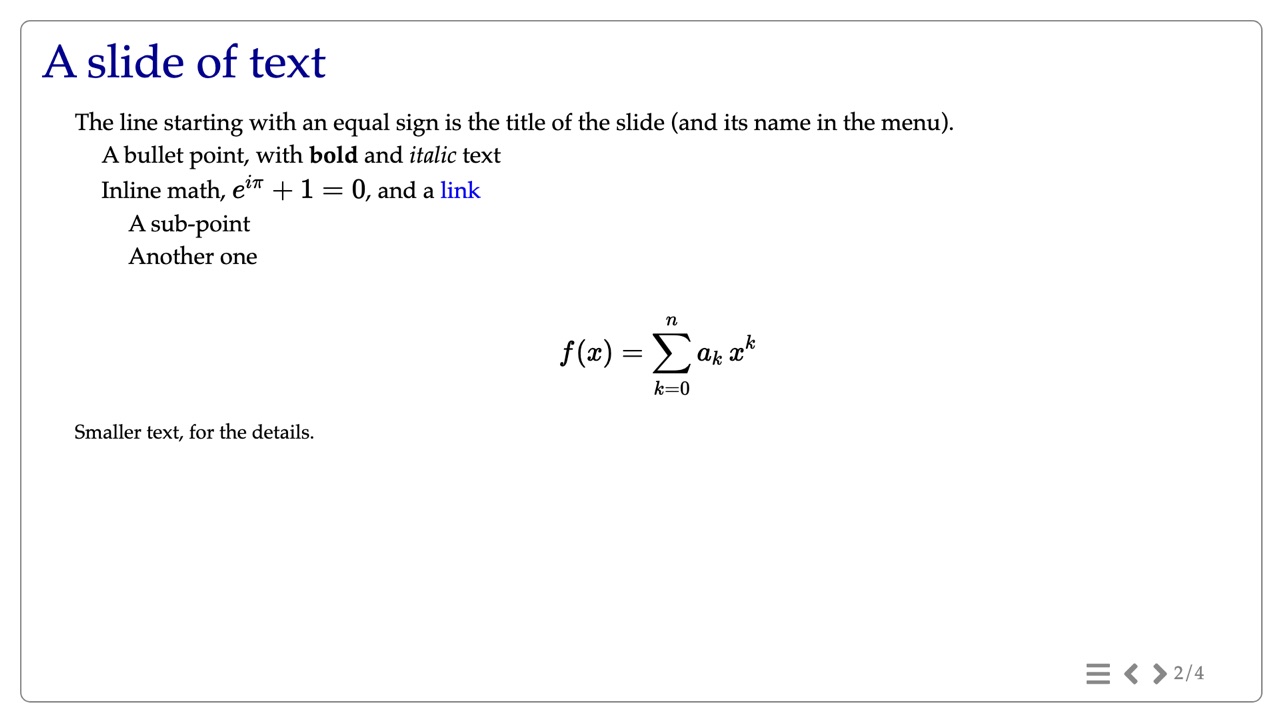
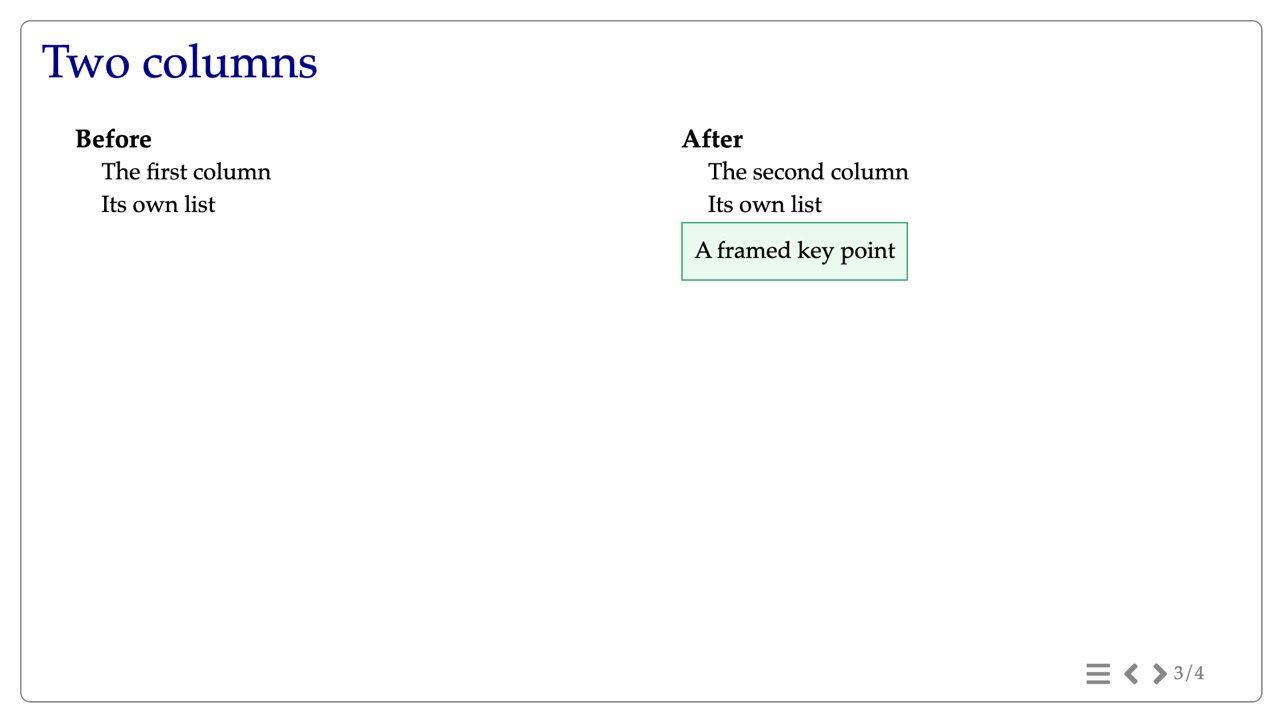
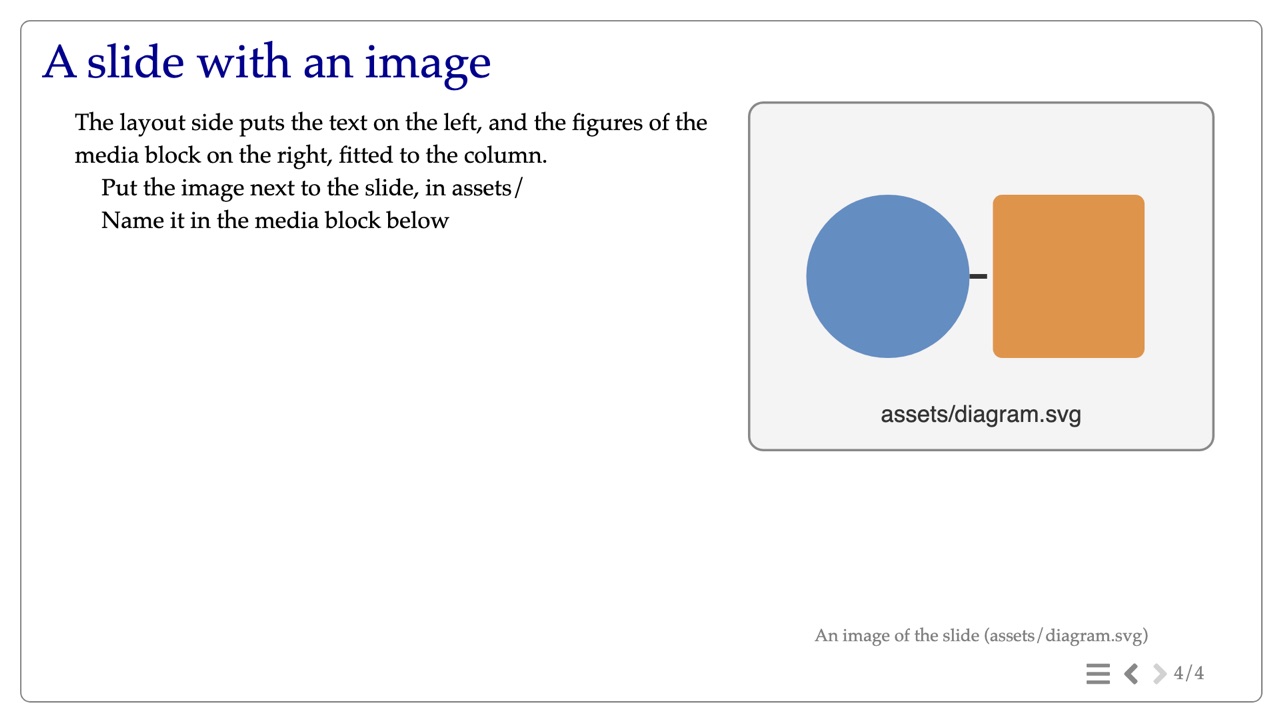
These four slides are also online, built from the starter by the current lhtml-site: in the browser (arrow keys to move), or as a PDF.
3. Change the title slide
Open src/01_title/index.html.j2 in your text editor. Replace My talk with the title of your
talk and Your Name with yours, save, and refresh the browser.
The file starts with two things that are not text of the slide. The first line,
{% set layout = 'section' %}, chooses the layout of the slide (here, a title
slide); the lines between {# and #} are a comment, never
shown. Both are read by Jinja, a template step run before LHTML: that is what the ending .j2
means. Leave them as they are for now.
4. Add a slide
Duplicate the folder src/02_text, name the copy 05_my_slide, and replace the content of its
index.html.j2 with:
= My first slide

* A first idea
* An **important** point
** with a detail
* A conclusionHTML produced
<h1>My first slide</h1>


<ul>
<li>
A first idea
</li>
<li>
An <strong>important</strong> point
<ul>
<li>
with a detail
</li>
</ul>
</li>
<li>
A conclusion
</li>
</ul>- A line starting with
=is the heading of the slide. - A line starting with
*is an item;**a sub-item. **word**is bold,__word__italic.
The slides follow the order of their folders: 05_my_slide comes last. Name it 02b_my_slide
to put it after 02_text.
5. An image
Put your image in src/04_image/assets/. Then, in the media block of
src/04_image/index.html.j2, replace diagram.svg with its name:
media::
img::assets/photo.png
credit:: Where the photo comes from ::
::
An image belongs to the folder of its slide, in assets/. media:: and credit:: are not
tags of LHTML: they are macros of the slides theme (Themes), and
LHTML alone leaves them as text.
What you have learned
- A talk is
configure.yamlandsrc/;.site/is rebuilt from them at any time. - A slide is a folder with an
index.html.j2, written in LHTML. - To share the slides, copy
.site/anywhere, or put it online.
Next: your first website, a new project with a menu.